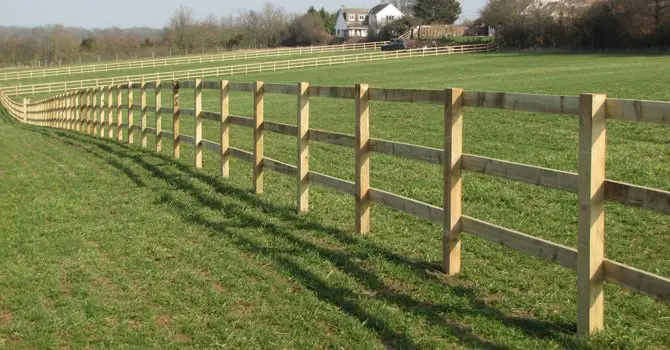
How to Protect Fences from the Weed Eater

One of the areas where weeds and any unwanted plants grow really well is the fence line. It should be easier to cut these weeds and plants if you use a weed eater for it, unless you plan to pull them by hand which is quite inconvenient. While it may be efficient to use the weed whacker to remove the weeds, you have to be aware that the said machine might also damage the fence if it gets close enough to it.
Having a wooden fence post makes you more susceptible to damages caused by the trimmer. While the trimmer might not cause immediate damage on the first instance, it might eventually show up as time passes by. With constant abuse from the trimmer, the wooden fence posts’ integrity might be compromised.
The Vital Steps to Protect the Fences from the Weed Eater
Step 1: Look for post protector products. A lot of fence protector products are available in the market nowadays and they are specifically designed to deal with line trimmers and mowers. Decide whether you want to have a model that protects one or two sides of your fence post. You may also want to have a fence protector that is of a two-piece construction. This type of construction wraps itself around the fence post.
Step 2: Once you have your fence protector, you have to clean away debris and dirt. Position the protector against your fence post. Remember to secure the fence protector using a screw or a nail. The fence protector consists of metal plates which screws into the exposed fence post’s lower area.
Step 3: Choose proper piping for protection. There should be black corrugated piping available nowadays to help you protect your fence post. The black corrugated piping you choose should fit properly around the fence post’s bottom. This way, the fence post can be properly protected from the Weed Eater.
Step 4: When it comes to the available piping, you can choose the one that has a slit down on one side. There is also the option of cutting this slit yourself. The said slit is what allows you to slide the black corrugated piping around the fence post.
Step 5: You might find it unappealing to leave the piping as it is around your fence post. If that is the case, then you will need to work on making the black corrugated piping less noticeable. For this purpose, cut the black corrugated piping three to four inches high.
Step 6: Decorative fence post may suit your preferences better. For this, buy ceramic tiles wide enough to fit your fence post. One ceramic tile per fence post should be purchased. If you cannot find a wide ceramic time, you can pick several smaller tiles to wrap around the bottom. You can use construction adhesives to hold the tiles in where you want them to be.
Step 7: Take your sweet time when using the Weed Eater trimmer. Doing so actually leads to less damage for your fence posts. Most of the line trimmers these days give you the freedom to throttle your power. It is possible to not squeeze the trimmer’s trigger all the way if you want a slower approach.
Step 8: Angle the line trimmer down toward the soil when you are approaching the fence to cut weeds. This should reduce the chances of hitting the fences too. If you avoid the structures such as fence posts or trees, you can make your trimmer string last longer too. If even this step fails, then you can just opt to go for the traditional method of trimming the weeds around the fence line by hand.
Step 9: You can use a flashing too. This is the thin metal piece that is typically used for repairing or installing the roof. The same flashing you used on the roof can be used for protecting the fence post too. Just screw some pieces of flashing onto the post’s affected sides.
Step 10: If you have not yet installed a fence protector and you have to get the weeding done by the day. If that is the case, then consider temporarily placing a metal piece on the fence post to protect it against the Weed Eater trimmer.

