How to Mow Lawn Using Weed Wacker

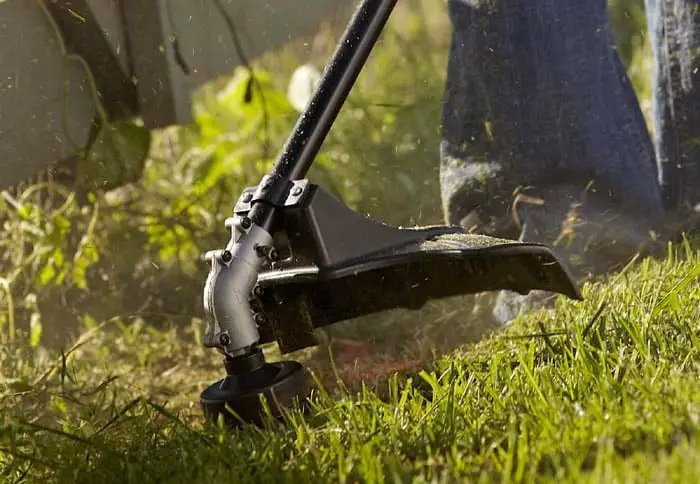
A weed whacker or a whipper snapper is the must-have tool in the garden. This is the perfect alternative when you are planning to mow small patches of grass in the garden. You will find the weed whacker with the most obvious choice you can use when you are planning to mow the lawn without using a lawn mower. The weed whacker is advantageous for cutting grass in challenging terrains like rocky areas or slopes. As long as you practice, you can cut the grass evenly and the cutting result will be the same as when you use a mower.
The weed whacker is not an expensive purchase. It is more affordable than the lawn mower. Moreover, it is more durable and requires less maintenance than either the gas-powered or electric-powered lawn mower. More importantly, the weed whacker is easier to store and carry around.
Here are the simple steps that you can take advantage of when you are using the weed whacker to mow the lawn:
Simple Steps
Step 1: Remove the big branches, leaves, sticks, rocks, and other objects that are lying in the garden lawn patch you are planning to mow. The weed whacker can flick around anything that it comes into contact with so it can be very dangerous to leave these big objects on the ground when you are mowing the lawn. Removing them can prevent situations where a tiny pebble gets flicked around and eventually breaks your glass window. In this respect, make sure that the children and pets are not in the way when you are mowing the lawn too.
Step 2: Prepare a trimmer line and add it to the weed whacker’s head. The whipper snapper cord should be of sufficient length. Otherwise, your mowing task will be difficult to complete.
Step 3: Protect yourself. Remember that when operating the whipper snapper, there will be debris being thrown about. The tiny pebbles you missed to remove before starting the whipper snapper will also be thrown about. If you are not wearing the right protective gear, you might get hurt or injured. The most important protective gear to wear when mowing the lawn using the weed whacker is a pair of goggles or sunglasses and ear protection.
Step 4: Start working on the edgings of the lawn patch. You must make sure to start mowing the overgrown grasses that are found along the tiles, along the fences, and along the garden edge. Paying attention to the overgrown grasses that are found in the edging can make your trimming work look well-trimmed and extra nice. If you do not do the edgings when mowing, then you might as well not mow the lawn.
Step 5: Start the whipper snapper. Hold the handle and make it fit comfortably against your hips. The head should be level and low enough for mowing the grass once inch higher than your soil level.
Step 6: swing the whipper snapper’s head gently from side to side. After that, take short steps forward. Just make sure to maintain the head’s height and level for each stroke.
Step 7: Once done, you can clean the whipper snapper up and store it away until the next time you will use it. The cut grass should be raked up and disposed of. You should be done after you follow these steps. The result of your mowing work will definitely be nice, neat, and clean. As a bonus, here are some helpful tips to promote an even better mowing result.
Bonus Tips
Bonus Tip 1: Beware of the wildlife found in your garden. Aside from the plants, there are living things in there such as frogs. Make sure that you do not accidentally immolate them just so you can complete your mowing task.
Bonus Tip 2: When mowing the grass, avoid cutting it too short. If the grass is too short, then the seeds produced by the weeds will easily spread around the garden. This is bad since this means the weeds will infest the lawn. Leave at least one inch of grass when mowing. Leave it a bit longer when it is summer. You can cut it a bit shorter though during the winter season.
Bonus Tip 3: If there are debris on the garden tiles, cleaning it up should not be a problem. After all, the whipper snapper can double as a broom too. Cleaning up should be a piece of cake.

