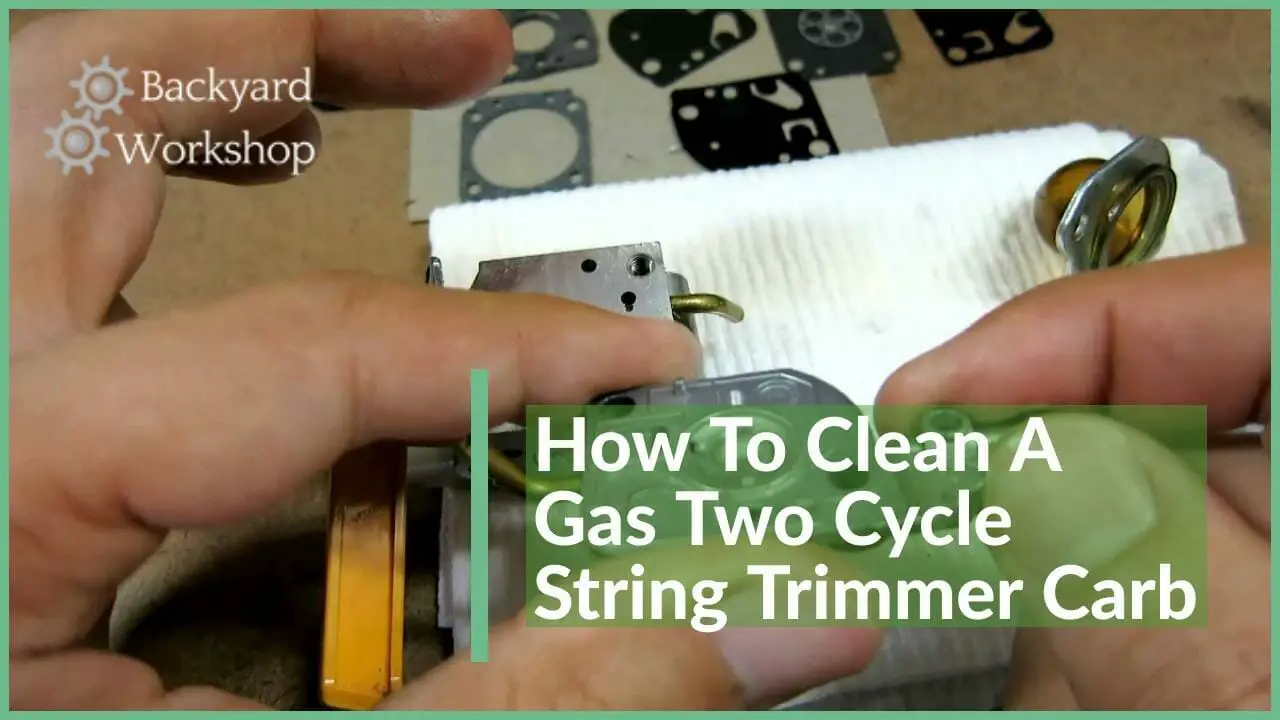
How to Clean a 2-Cycle Weed Eater Carburetor

Things break. It’s a fact of life, and even if you care for your equipment – EVENTUALLY – your weed eater carburetor will get gunked up.
While buying a new carburetor might be an easy solution, but that will cost you money. Sometimes it’ll cost more than buying a new gas string trimmer.
If you are a little handy, you can consider cleaning it up instead. Here are the easy steps to take when you want to clean the 2-cycle weed eater carburetor.
To clean your weed eater carb you’ll need:
- A flat-head screwdriver.
- Depending on the model, a Phillips screwdriver.
- (Optional) A camera to take pictures before each step to help with reassembly. A good idea if you are nervous.
Step 1: You have to remove the air filter (sometimes known as a breather plate in parts of the world) from the engine of your weed eater. The air filter is the (usually) black structure covering the outer side of the engine. Removing this will expose the carburetor.
Step 2: Remove the two fuel lines connected to the carb. These fuel lines connect the carburetor and the fuel container to each other.
Step 3: After pulling off the fuel lines, you can now remove the carburetor. Some of the carburetors will have different type of screws to hold in the primer bubble. Remove these screws and the carb will fall into two parts.
Step 4: We have now removed the carburetor from the engine. It’s time to focus on cleaning it. Make sure to set the engine aside. Moving it out of the way can clear some space in front of you, making for a better work space.
Step 5: Once you have the carburetor in your hands, it’s time to begin cleaning out the junk. There are carb cleaning products available to help remove buildup thoroughly. You can buy them at local auto part stores, but here’s a link in case you want to save yourself a trip.
Step 6 (Optional): Want to do an EXCELLENT cleaning job? Drop the carburetor housing inside a vat of ultrasonic carburetor cleaner for 15-30 minutes. Within a half-hour, remove the parts and start wiping them clean.
Step 7: Put everything back together again. Follow the instruction in reverse order. This means that the last item you have taken out should be the first item you put back.
Be careful when assembling the carburetor back together. If you over tighten the screws or forget a component, the string trimmer will not work properly.
Conclusion
With these steps, you are sure to clean the carburetor thoroughly. The carburetor will be sparkling clean afterward. Your gasoline powered weed wacker will purr like a kitten – and you’ll be back out in the yard in now time!

